A kitchen faucet is one of those everyday essentials we rely on without giving it much thought — that is, until it starts malfunctioning. Whether it’s a leaky faucet, low water pressure, or strange noises coming from the pipes, a broken faucet can be frustrating. Fortunately, many kitchen faucet issues can be diagnosed and repaired with a bit of DIY knowledge.
In this guide, we’ll walk you through how to identify common kitchen faucet problems, diagnose the issues, and repair them without needing a professional plumber. You’ll learn how to troubleshoot the problem step by step, and with just a few basic tools and some patience, you’ll have your faucet running like new in no time.
1. Identifying the Problem: What’s Wrong with My Faucet?
Before you can fix a faucet, you need to identify the root cause of the issue. Kitchen faucet problems are surprisingly common, and each one usually has a specific cause. Here are a few issues you might encounter:
- Leaky Faucet: A persistent drip or leak even after the faucet is turned off.
- Low Water Pressure: The water flow is weak or inconsistent.
- Strange Noises: Humming, whistling, or clattering sounds when you turn on the faucet.
- Water Temperature Issues: Hot and cold water aren’t mixing properly, or it’s difficult to adjust the temperature.
Each of these issues requires different approaches to repair, so being able to identify what’s wrong with your faucet is the first step. Let’s dive into some of the most common problems and their solutions.
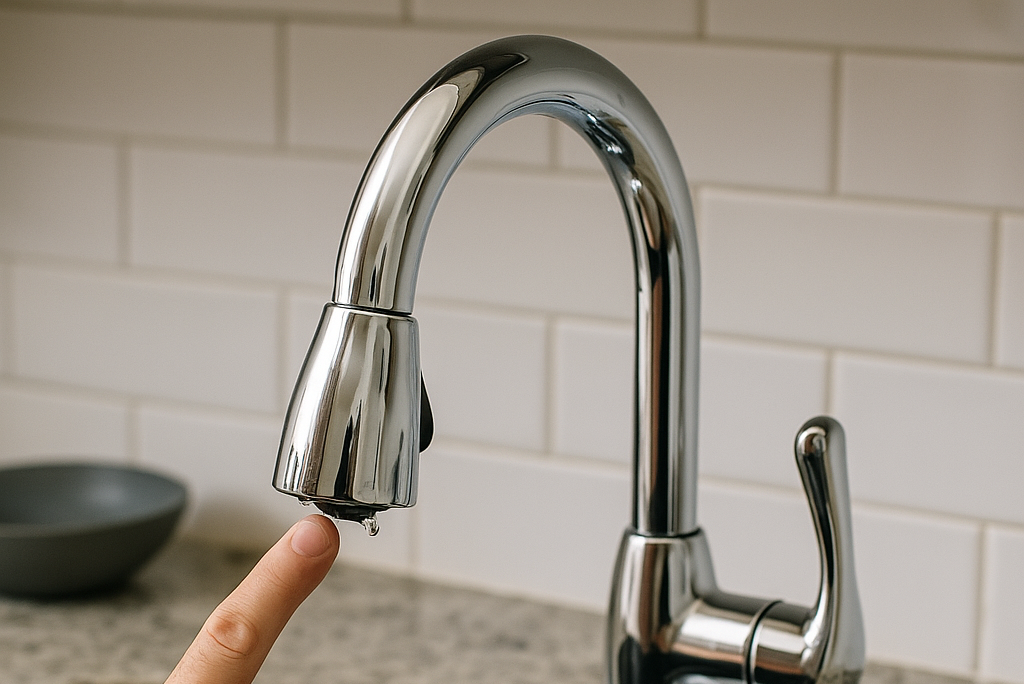
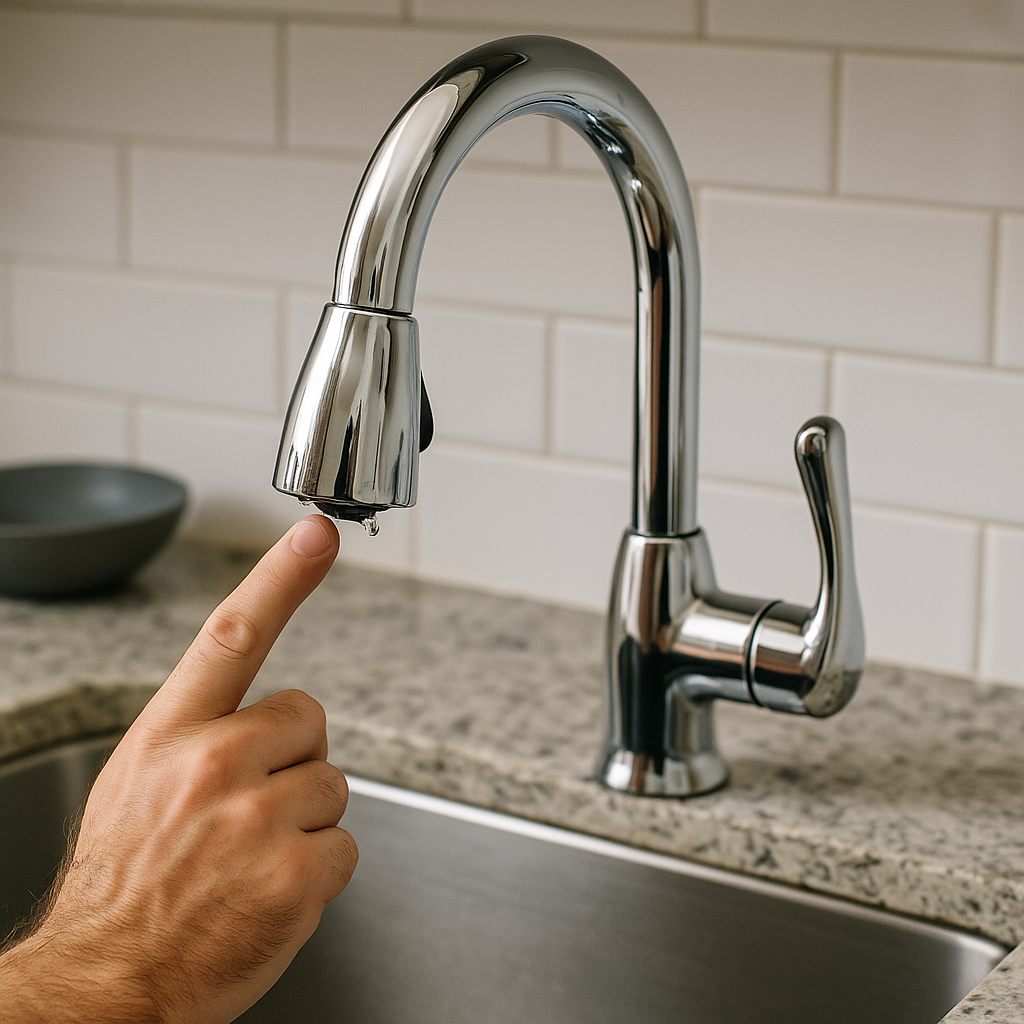
2. Fixing a Leaky Faucet: Worn-out Washer or Cartridge
A leaky faucet is one of the most common issues that homeowners face. If you find yourself dealing with a faucet that drips even after you’ve turned it off, the problem is most likely caused by a worn-out washer or faulty cartridge, depending on the type of faucet.
Steps to Fix a Leaky Faucet:
- Turn Off the Water Supply: Start by turning off the water supply to the faucet. Locate the shut-off valves under the sink and turn them clockwise. If you can’t find the shut-off valves, you may need to shut off the main water supply to your home.
- Plug the Drain: Use a sink plug or rag to block the drain. This will help prevent small parts from falling down the drain during disassembly.
- Disassemble the Faucet: Using a wrench or screwdriver, remove the faucet handle. The method for removing the handle will vary depending on the faucet type, but it’s often secured with a screw. If you can’t figure out how to remove the handle, refer to the faucet’s manual.
- Inspect the Washer or Cartridge: Once you’ve removed the handle, check the washer (for compression faucets) or the cartridge (for cartridge faucets). If the washer is cracked or the cartridge is corroded, it’s time to replace them.
- Replace the Faulty Part: Head to your local hardware store or order a replacement part online. Be sure to match the new part with your faucet’s model and size.
- Reassemble and Test: After you’ve replaced the part, reassemble the faucet, turn on the water supply, and test it. If the faucet still leaks, you may need to replace the valve seat or faucet stem.
Pro Tip: For a smoother installation, apply plumber’s tape to the threads of the faucet parts to prevent leaks in the future.
3. Fixing Low Water Pressure: Cleaning the Aerator
Low water pressure can make your kitchen faucet seem like it’s barely working. If you’re experiencing weak water flow, one of the first things to check is the aerator, which is the small screen at the tip of the faucet spout. Over time, mineral deposits and grime can clog the aerator, reducing water pressure.
Steps to Clean the Aerator:
- Unscrew the Aerator: Use pliers or a wrench to carefully unscrew the aerator from the faucet spout. Make sure to protect the faucet’s finish by wrapping a cloth around the pliers to avoid scratches.
- Soak in Vinegar: Place the aerator in a bowl of white vinegar and let it soak for 30 minutes. The vinegar will dissolve mineral buildup, making it easier to clean.
- Scrub the Aerator: After soaking, use an old toothbrush to scrub the aerator and remove any remaining debris. Rinse it thoroughly under water.
- Reattach the Aerator: Screw the aerator back onto the faucet, and test the water flow. If the pressure is still low, the problem may be deeper in the plumbing system.
Pro Tip: Clean your aerator every few months to prevent mineral buildup from affecting the water flow. It’s an easy and preventative maintenance task.
4. Fixing Strange Noises: Air in the Pipes or Loose Parts
Unusual sounds like humming, whistling, or clattering when you turn on the faucet are typically caused by air in the pipes or loose parts within the faucet. These noises can be annoying, but the solution is usually quite simple.
Steps to Fix Strange Noises:
- Air in the Pipes: If the faucet has been recently turned off and back on or the water supply has been interrupted, air could be trapped in the pipes. To clear the air, turn on all the faucets in your home and let them run for several minutes. This will help clear out any trapped air.
- Loose Parts: Over time, parts within the faucet can loosen. Check the faucet handle, spout, and valve connections for any loose components. Tighten any loose parts using a wrench or screwdriver.
- Replace the Cartridge: If the noise persists after tightening the parts and clearing the air from the pipes, it’s possible that the faucet cartridge is damaged. Follow the steps for replacing a faulty cartridge to eliminate the noise.
5. Dealing with Temperature Issues: Inspecting the Cartridge or Mixing Valve
It’s frustrating when you can’t get the right water temperature, especially if you’re trying to wash dishes or prepare food. The issue may lie with the cartridge (for single-handle faucets) or the mixing valve (for both hot and cold controls).
Steps to Fix Temperature Issues:
- Examine the Cartridge: If your faucet has separate hot and cold controls, the issue might be with the cartridge. Remove the cartridge and inspect it for signs of damage, corrosion, or mineral buildup. If the cartridge is faulty, replace it with a new one.
- Check the Mixing Valve: For faucets with a single handle, the mixing valve controls the hot and cold water flow. If the mixing valve is malfunctioning, it may not properly mix the water temperature. Check the valve for any signs of wear and replace it if needed.
- Flush the Pipes: If the water temperature is fluctuating or isn’t adjusting properly, mineral deposits may have built up in the pipes. To flush the pipes, run hot water through all the faucets in your house. This can help clear out any sediment or debris in the plumbing.
Pro Tip: For faucets that frequently experience temperature inconsistencies, installing a water softener can prevent mineral buildup and improve water flow.
6. Preventing Future Faucet Problems
Once you’ve repaired your faucet, it’s a good idea to take steps to prevent future issues. Regular maintenance will not only keep your faucet working efficiently but can also extend its lifespan.
Maintenance Tips:
- Clean the Aerator Regularly: To avoid low water pressure, clean the aerator every few months. This simple task will help prevent mineral buildup from blocking the flow of water.
- Check for Leaks: Periodically check your faucet for signs of leaks. Small leaks can lead to bigger issues over time, so it’s better to catch them early.
- Lubricate Moving Parts: Apply plumber’s grease to moving parts like the faucet handle or cartridge. This will help keep them working smoothly and prevent wear and tear.
- Avoid Harsh Cleaners: Don’t use abrasive cleaners or harsh chemicals on your faucet. Stick to mild soap and warm water to clean it.
- Inspect Under-Sink Plumbing: Make it a habit to check under the sink for any signs of leaks, corrosion, or pipe damage. Fixing these small issues early can prevent larger problems down the road.
7. When to Call a Professional
While most faucet problems can be handled with DIY repairs, some issues are more complex and may require a professional plumber. If you’ve replaced parts and the problem persists, or if you’re unsure of how to fix an issue, it might be time to call in the pros.
A professional plumber can help with:
- Major Leaks or Water Damage: If you notice water pooling under the sink or around the faucet, it could indicate a larger plumbing issue.
- Complex Plumbing Problems: If the faucet problem is connected to the overall plumbing system, such as issues with water pressure in the entire home, a professional plumber will be able to identify and fix it.
- Water Supply Lines or Connections: Sometimes the problem isn’t with the faucet itself but with the underlying water supply connections. A plumber can help with this more complex work.
Pro Tip: Before calling a plumber, check if your faucet is still under warranty. Some manufacturers will cover repairs or replacements if the faucet is defective
You don’t need to be a plumbing expert to troubleshoot and repair your kitchen faucet. By following the steps outlined in this guide, you can fix common faucet issues like leaks, low water pressure, and strange noises all on your own. Regular maintenance and timely repairs can extend the life of your faucet, saving you time and money in the long run. With the right tools and a bit of patience, your kitchen faucet can be good as new in no time!